

Transferring With Graphite Paper
Materials
- reference image (what you want to transfer)
- graphite paper
- pencil/pen
- artist tape or any kind of non-stick tape
- clean sheet of paper to transfer onto (I used colored Canson paper)
A few tips:
- You will be drawing over your reference image, so make sure you're using a copy of your image and not the original.
- Using a black and white copy of your reference image for this can be useful, especially if your image doesn't have high contrast. If you need to, you can tweak the contrast levels in photoshop before you print out your reference image. You want to make sure you can clearly make out the contours of the figures in your image.
- Using a colored pencil is a good idea, especially if you're using a black and white image. You'll be able to see what you're doing better once you start tracing over the image if you're using bright red, for example, instead of a black pen or graphite.
- One sheet of graphite paper can be reused lots and lots of times. You don't have to replace it until most of the graphite is gone, so don't throw it out after the first time you use it! Fold it so the graphite side doesn't rub against anything and keep it in a place you'll remember.
- You can find graphite paper of many colors other than black. Choosing a different color can be particularly useful if you're using colored paper to transfer onto. For example, using white graphite paper would probably be more useful than black if you're using a navy blue sheet of paper to transfer onto.
Step 1
Tape your reference image onto your clean sheet of paper. Make sure you're placing the image centered over your clean sheet of paper. I suggest leaving some margin around in case you want to frame it or crop it later.
Step 2
Place your graphite paper sandwiched between your clean sheet of paper and your reference image (the darker side of the graphite paper should be facing your clean sheet of paper). You can also tape the graphite paper down if you need to.
Step 3
Trace over the contours of your reference image. Use your judgment in deciding which marks you need or don't need to make. You can lift the graphite paper and reference image to check on your progress as you go. Using a colored pencil is helpful as it lets you see very clearly what marks you're making.
Make sure you have transferred everything you need before you remove the tape. It'll be difficult to properly line up your reference image again once you've removed the tape.
Step 4 (optional)
You can use a kneaded eraser to pick up some of the graphite if you don't want it to be very opaque. I usually do this before I start painting or coloring over a transferred image, especially if I'm using watercolor because graphite repels the watercolor and ends up being very noticeable.
Using graphite paper can be really useful when you want to create something that's very realistic or if you're ready to color over a finished sketch.

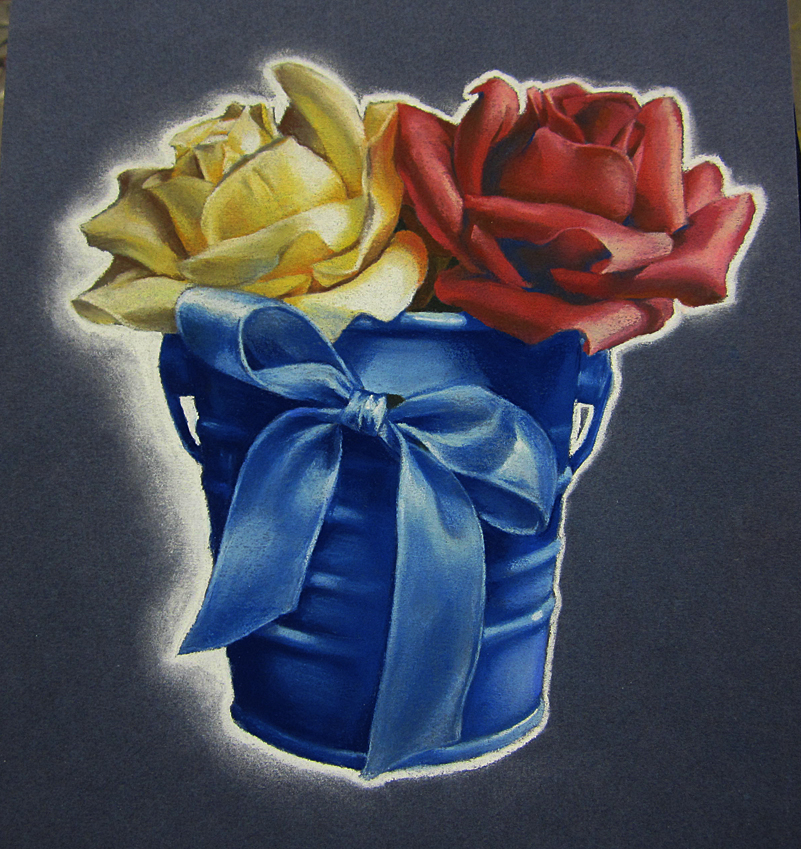


Here are some examples of works I've made using graphite paper.
From left to right: white and black charcoal on Canson paper, pastel on Canson paper, watercolors on watercolor paper, white and black charcoal on Canson paper, Prisma colored pencils on Canson paper.