Draw/Paint Self-Portraits
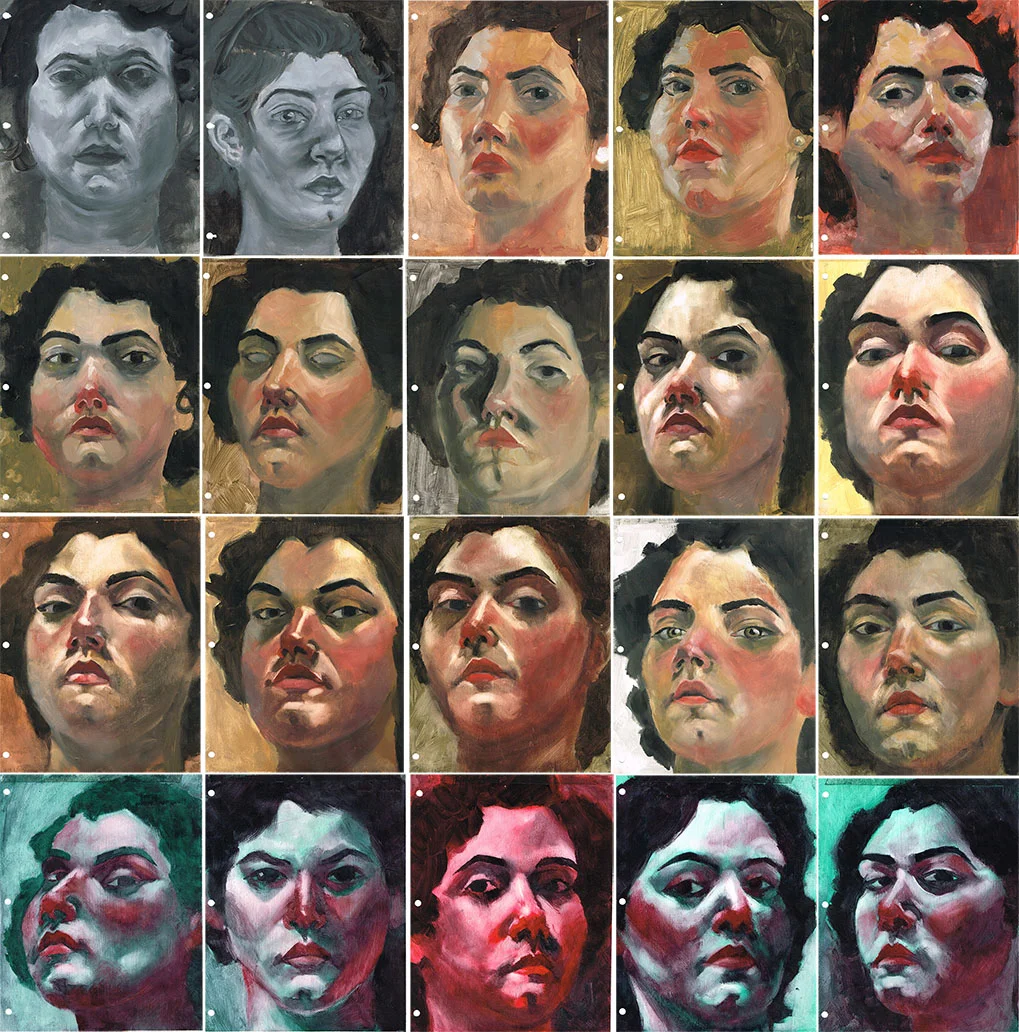
One of the most challenging exercises I had to do for my first painting class was a series of 20 self-portraits. We had to do one every night for 20 days in a row. It was challenging because I didn’t know what I was doing, it took at least twenty minutes to set up all my oil painting stuff every night, and I went on vacation for a few days in the middle of these 20 days. It’s a good thing I went to Mexico on a bus and not a plane. The airport would not have appreciated my jar of gunky turpenoid very much (because it’s toxic and flammable).
These are my first 20 self-portraits
It’s very important that you do these with a mirror instead of using a picture. It’s a lot faster and easier to use a picture, but you learn a fraction of what you do with a mirror.
Using a mirror forces you to work faster because you’re sitting uncomfortably still to keep your face in the same angle, so you learn to make efficient decisions. You also have to take in lots of visual information at a time, like the perspective of your face, the shapes cast by shadows, noticing changes in contrast and temperature of color (if you’re using color), lighting changes if you’re using daylight as your light source etc. You have none of these things going on when you use a picture.
I didn’t spend more than two hours on any of these. Sometimes I wanted to keep working on them, but I’d remind myself that the point of these was not to make a perfect self-portrait, but to learn from attempting to. Usually by the two hour mark, I’d already learned everything I could. Anything more would just be overworking the thing.
You can use any medium for this: digital, traditional paints, pencils, etc. I’ve only used oil paints and pencil, myself. You learn something new with each.
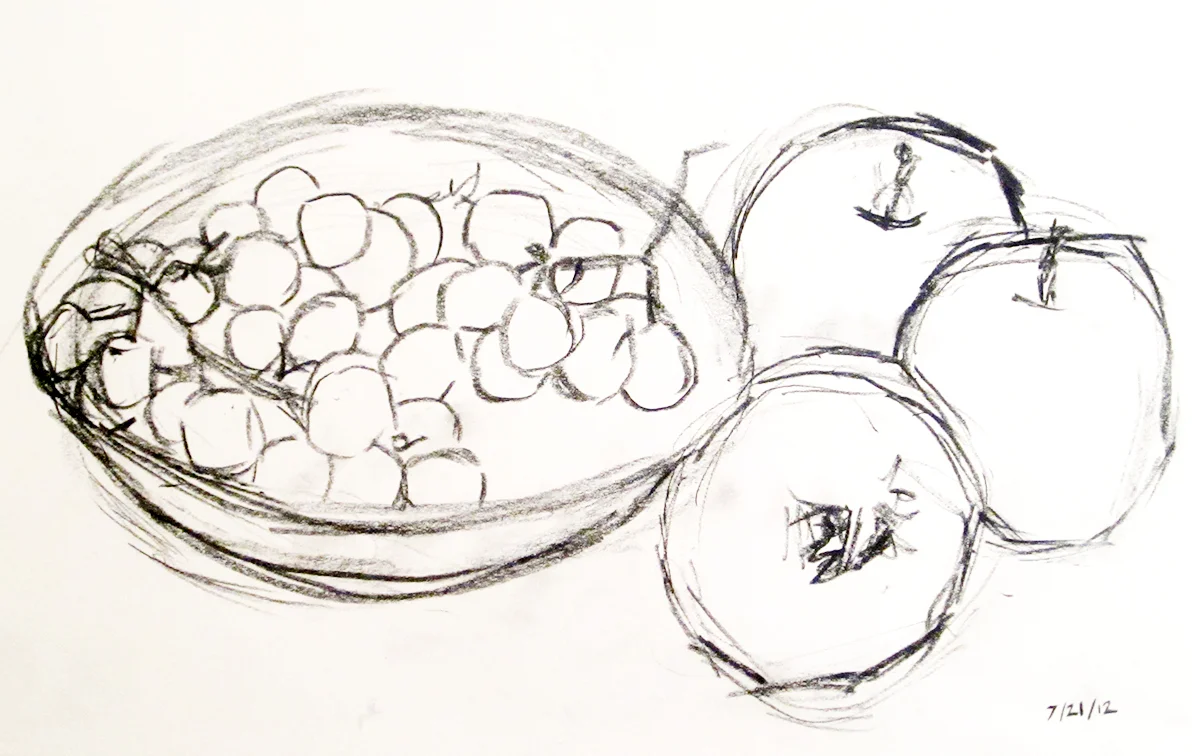
I used pencil for these. I probably didn’t take more than 30 minutes on them.

You can also use your medium of choice to learn specific things. For example, you could choose to focus on learning how to draw your face in perspective.
You could also focus on drawing a specific facial feature, like eyes or mouths. Although I suggest you stick to drawing the entire face for the most part because that’ll help you understand how each facial feature relates to another. It’s cool to be able to draw pretty eyes, but it’s much better to be able to draw an entire face that looks cohesive. It’s tough, but it’s worth doing. You’ll learn a lot more a lot faster, too.
To focus on learning about the volume of a face and how to capture light and shadow accurately, you can use a limited palette of two or three colors (or just black and white). I love painting portraits with dramatic lighting. To get dramatic lighting, you just have to point a light at yourself at whatever angle you want in a dimly lit room. I use a cheap clamp light from Home Depot.
I’ve also worked on capturing temperature changes in the face. This is the stuff I struggle with the most. Temperature refers to warm (blues and greens) and cool (reds, yellows, and oranges) colors.
I usually prefer to work with exaggerated colors because I think it’s fun, but you can use whatever colors you want. If you want to start with a classic palette, you can use the “old master’s palette” that I was given in school:
-titanium white
-ivory black
-cadmium red light
-cadmium yellow light
-yellow ocher
-ultramarine blue
-and, if you want, burnt umber (because I like it)
Regardless of what medium you’re using, you want to start with a loose drawing of your face. Most people like to work out each feature individually, focusing on making the eyes perfect before moving on to the nose, etc. Fight the urge to do that. Start with the general shape of the head first, then look at the features in relation to one another. Don’t start adding details until you’re at least halfway through with your self-portrait. The first thing you want to learn is how to draw the head and features in perspective and in relation to one another.
Once I have a pretty good loose sketch, I start adding in the various shadows and colors in bold shapes as I see them. I don’t worry about making smooth transitions between colors. I work those out until they look good. By then I’m about 3/4 of the way through. Then I might start adding details like pupils and nostrils, etc. I don’t usually worry about painting individual eyelashes or hairs. That’s a waste of time. I keep my shapes as bold as possible.

Remember that it’s okay if your self-portrait doesn’t look that much like you or if it isn’t very pretty. You’re not doing this to make pretty drawings of yourself. The purpose of these self-portraits is to teach yourself how to draw or paint a face with a particular medium.
A lot of people made fun of my self-portraits because I look like I have a mustache and I look angry in most of them. I don’t care. The mustache was a shadow and I look angry because it’s hard to smile at the mirror for two hours straight. I learned a ton from painting what I saw and not what I wanted to look like.
That is how to use self-portraits as a learning exercise.
If you want to paint a nice portrait (self or otherwise), you can use a picture. I will make a tutorial on how to do this soon. For now, here is a self-portrait and a portrait of my sister based on pictures.
These look pretty good, but making less attractive self-portraits with a mirror will teach you a whole lot more about portrait painting. Doing self-portrait exercises will make you even better at making picture-based portraits in the long run.
Remember, you WILL struggle at first and that’s okay. If you’re struggling, you’re doing it right. If you have any questions about making self-portraits or anything else please let me know! I’m here to help :)