
Sketching With Tracing Paper

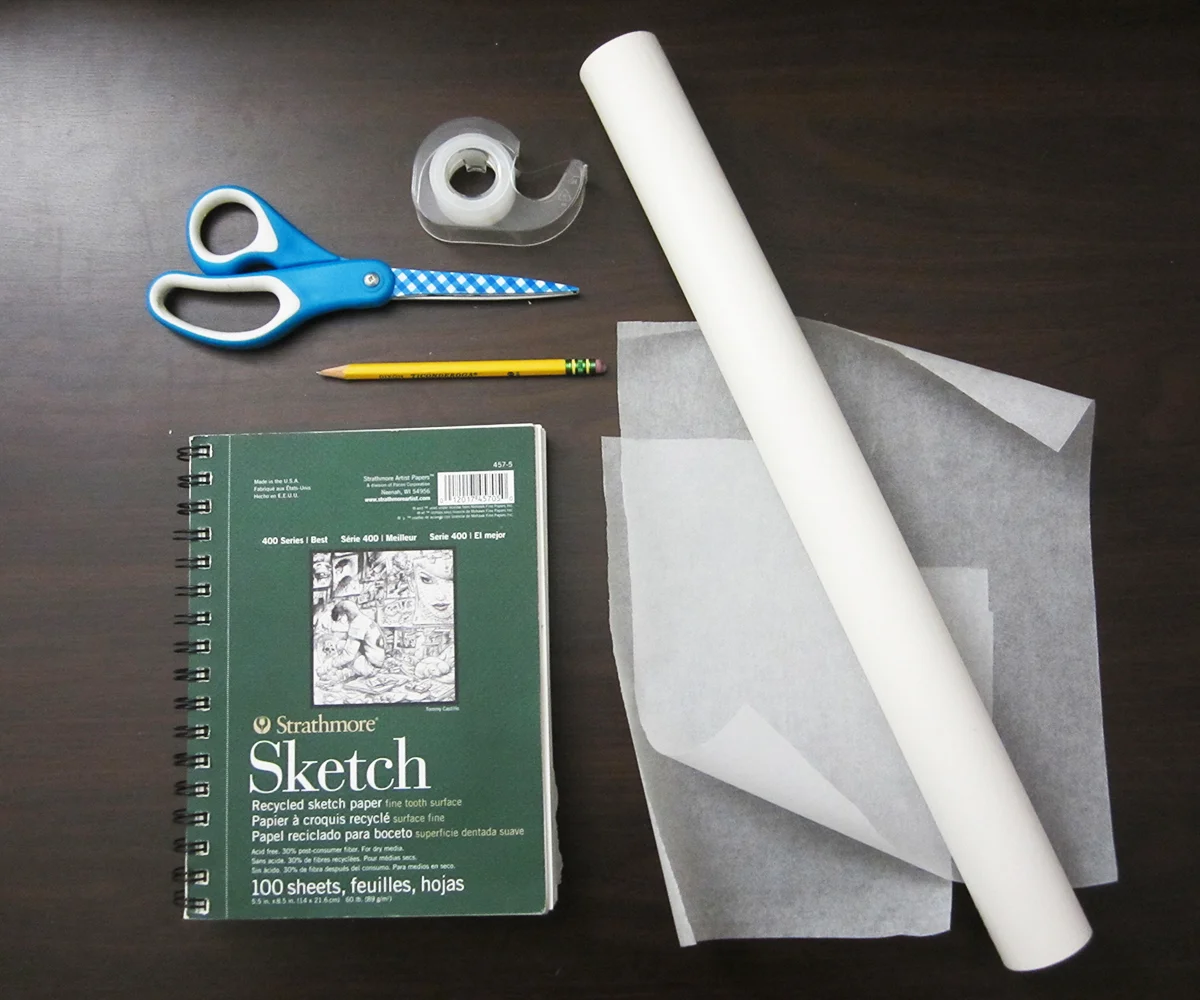
Materials
sketchbook
tape
scissors
pencil
tracing paper

Some Tips
-Tracing paper can be bought in various forms, like a roll or a pad. I draw relatively small but I use a lot of tracing paper, so a roll is a good investment for me. If you draw big a roll can also be a good idea for you since rolls come in large sizes and you can cut sheets to whatever size you need. Pads generally stick to standard sizes like 8.5"x11"or 9"x12". It's up to you to decide which format best fits your needs.
-Tracing paper comes in various colors. I've used yellow tracing paper too and I found it harder to edit in photoshop. It also tends to become more opaque than the white paper when you start layering pieces of it. I definitely prefer to stick with white tracing paper.
-I don't usually worry about cutting pieces of tracing paper very neatly or stress about getting my finger prints on the tape as I work because I'll end up scanning and editing out all that stuff in Photoshop anyway.
-Finally, you might want to reference SAT #3: Use Tracing Paper before continuing.


Step 1
Start with a rough sketch you want to explore more. I usually make a sketch dump page where I put ideas down in a loose way. Then I choose my favorite(s) out of the bunch to keep developing. I like putting little arrows next to the chosen ones. In this case I only like the bottom right cat.


Step 2
Place your tracing paper over your sketch and create a new iteration of the sketch. This can be a direct, cleaner version of the original or a completely new drawing very loosely based on your rough sketch. It's totally up to you.
Sometimes I'll draw a really crappy sketch that I like but I'm not sure why. In cases like this I use tracing paper to help me continue developing the drawing without losing whatever it is about the original sketch that I really like. After trying lots of different (and often bad) ideas I usually end up honing in on the thing that I like and develop it to its full potential.


Step 3
Continue exploring different directions until you feel you've found the right one. You can continue to refine your sketch using tracing paper, making as many iterations as you need. You can also add new elements like props or backgrounds using tracing paper, which will allow you to test lots of different options without having to commit to anything.
I like taping all my tracing paper sketches down in my sketchbooks for safekeeping and to make it easy for me to scan them in batches. Scanning them taped to a white sheet of paper makes the tape very easy to edit out in photoshop, as opposed to scanning loose pieces of tracing paper, which will give up a more grayish background color that's a bit harder to edit without doing crazy things with the contrast and levels tools.


Here are some examples of exploratory tracing paper sketches I made when I was working on my Wizard of Oz illustration.
Using tracing paper made it easy for me to explore various wardrobe options for Dorothy. I didn't worry about redrawing Dorothy's head and limbs on all the different outfits since it was easier just to scan them and layer them into one Photoshop file where I could easily switch between each outfit to compare.
Similarly, tracing paper allowed me to compare various iterations of the Scarecrow's design side by side. Once I decided on a design I also used tracing paper to help me develop the pose I wanted the Scarecrow to be in.

