Start With Thumbnails

My process before going to art school consisted of two steps: draw it then color it. I’d start with the idea I had in my head, draw it as best as I could, then color it. But when it came to drawing things with backgrounds and other elements in them, it was overwhelmingly difficult to get a good drawing out. Then, when I got to art school, I was told to start with thumbnails.
When you have a project in mind, you might start with lots of different ideas floating around in your creative pond. When you start by putting all of these ideas down in the form of small and quick little sketches, it gives you a chance to compare them all and see which ones are the most attractive.
If your idea is very ambitious and perhaps even daunting to you, starting with a thumbnail makes it easy for you to slowly build it up from scratch.
Thumbnails also allow you to have a relatively clear idea what your entire project is going to look like from the very beginning. Piecing an image together like a puzzle is almost never successful. Starting with thumbnails helps your composition look cohesive in the end.

Usually at the beginning, I start with simple or cliche ideas that I know I probably won’t end up using. Putting the “crappy” ideas down gets them out of the way and leaves room for new and better ideas to come to you. It’s good to get as many ideas out as possible so you have lots of composition options to explore. Sometimes as you come up with new ideas, those ideas inspire new ones and so on. You might end up choosing an idea that is totally unexpected.
The number of thumbnails you make is up to you. I usually make between 15 and 30, depending on how specific of an idea I have for the project. You want these to be no bigger than 3 or 4 inches. The sketches you make should be quick and not very detailed. You shouldn’t take much more than five minutes with each one. You’ll have lots of time to work out the details later.


These are some of the thumbnails I started with when I was working on the sci fi poster that ended up being Astrid the robot girl.

Once you have your thumbnails done, look through all of them and pick your favorites. It’s also helpful to have other people (whose opinion is valuable to you) take a look at them and tell you which ones they like.
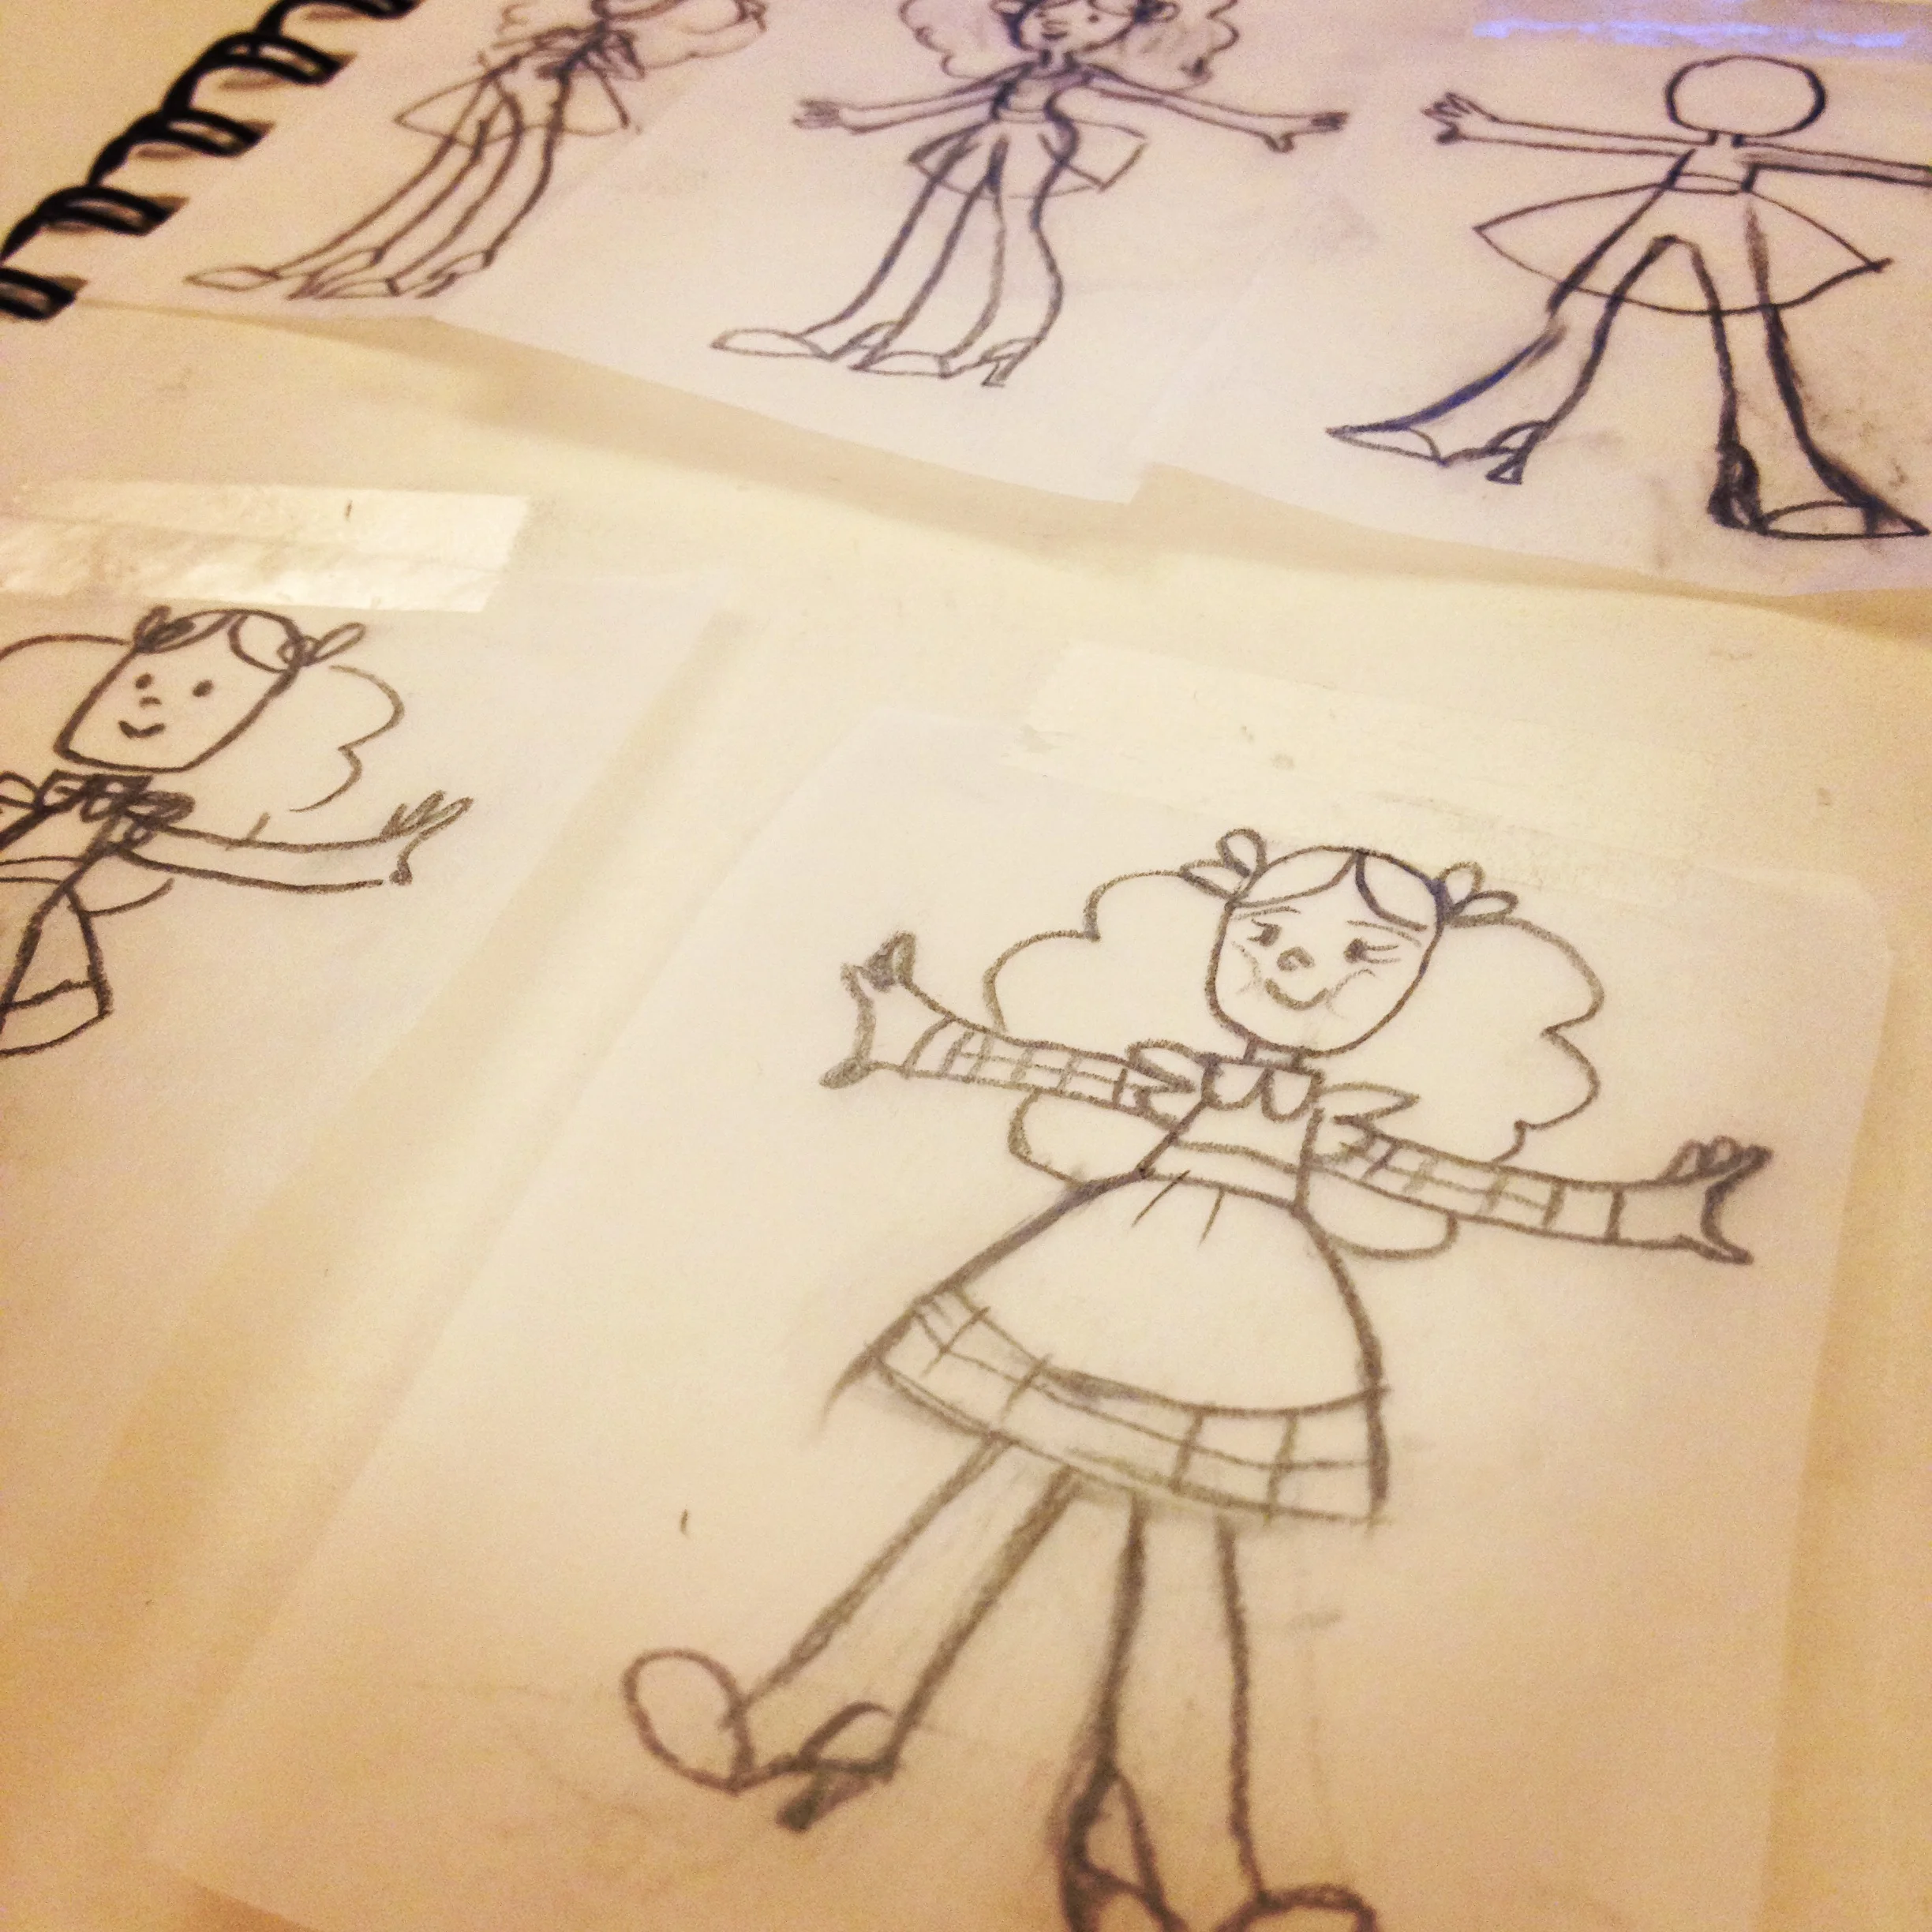
You can then take your favorites, enlarge them, and add a little more detail to them. I usually scan my image into Photoshop, fix the contrast, then print it and use tracing paper to draw on top of it (Simple Art Tip #3: Use Tracing Paper). You can try as many different variations of your thumbnail as you need to until you have one that you’re happy with.
This larger and slightly more detailed version of your thumbnail is called a rough. You repeat the same process of reworking and detail-adding with your rough(s) until you have a cleaner and more detailed version of it. This final version of your rough is called a tight. At this stage you’ve worked out any issues with composition, perspective, style, etc.


These are the rough, tight, and final tight sketches for my sci fi poster.

I personally like to work out everything in the design and the composition of a drawing first and then render/color it. It takes a lot of “fixing” out of the rendering stage.
This process works really well for me. It takes a lot of decision-making stress off by breaking it into stages and allowing me to consider many possibilities for the project.
Remember that this is just one way to approach starting with thumbnails. You can try it and change the process however you want :)